How to Store Cleaning Products
We take our sinks for granted, filling them up to the brim with things we need to clean later, but an inaccessible sink is a big problem when we need it. Much of what we clean in our house is affected by our sinks, but how do we keep them clean?
Separate the products used daily or weekly (such soap, dish-washing liquid and garbage bags) from products that are used occasionally (such as drain de-cloggets and specialty cleaners). If space is limited, relocate the less-used items to other parts of the house such as the utility closet, laundry area or garage, according to their purpose. If you have small children, keep toxic chemical cleaners such as ammonia out of curious hands. Store only often-used items in the cabinet under the sink and use the following, depending on your needs:
- Caddies– Make it easier to tote cleaning supplies.
- Expandable Undersink Shelves– Create more vertical storage by fitting around pipes.
- Sliding Cabinets Baskets– Get better access to the back of the cabinet.
When to Toss Cleaning Products?
If a cleaning product is old, discard it. If there is clumping, hardening or its color has changed, it’s also time to throw it away. If the container is damaged, then get rid of it to prevent spills and leakage. And even if none of these signs are present, take note of the average shelf life of cleaning products to know when yours have lost their potency:
- Bleach – 6-9 months
- Dish Soap – 1-2 years
- Glass Cleaner – 18 months-2 years
- Laundry Detergent (Powder or Liquid) – 6 months opened; 1-2 years unopened
- Wood Polish – 2 years
- Metal Polish – 3 years
How to Store Cleaning Products
Organize the Jumble Under the Kitchen Sink
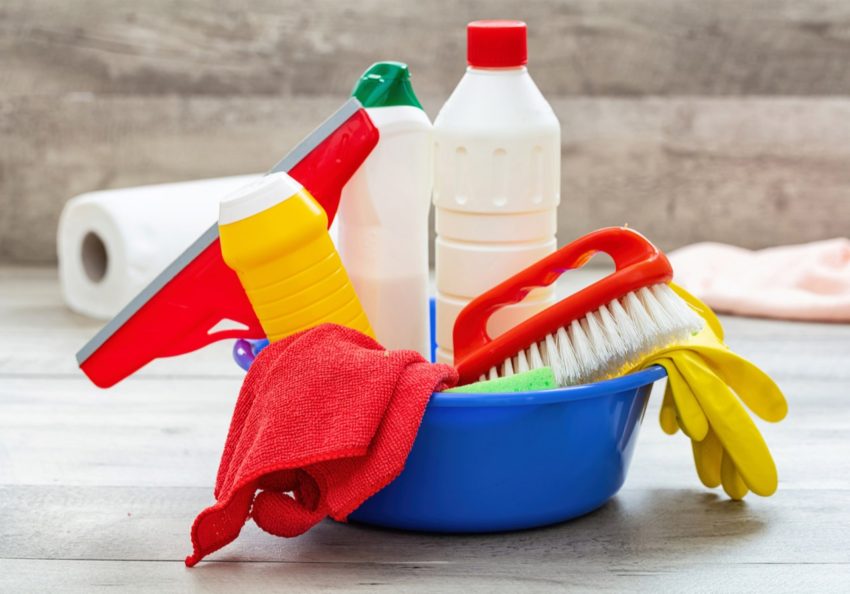
- Gather the following: a bucket, soap, rubber gloves, sponge and garbage bag.
- Take everything out of the cabinet under the sink.
- Throw away bottles that are crusty, empty, old or that you no longer use. Keeping in mind that cleaners lose their potency over time, even chemical ones.
- Dilute one part soap in two parts warm water to clean the cabinets. For stubborn stains and grime, mix baking soda and water to make a potent scrub. Avoid using steel wool or scrubbing brushes, which might damage the wood.
- Take the measurements of the inside of the cabinet and line it with vinyl flooring to protect the wood spills and make it easy to clean. Vinyl flooring is inexpensive and easy to cut to size with household scissors.
- Outfit the cabinet with the appropriate organizing products and replace cleaning supplies accordingly.
Be Sociable, Share!